Configuring Custom Fields
- 20 Mar 2024
- 4 Minutes to read
-
PDF
Configuring Custom Fields
- Updated on 20 Mar 2024
- 4 Minutes to read
-
PDF
Article summary
Did you find this summary helpful?
Thank you for your feedback!
Overview
Custom fields are user-defined fields that capture additional information about metadata or a Validatar object. This can include information about the data element, privacy, sensitivity, data stewardship, compliance, and more.
Custom Fields apply to every metadata and Validatar object and are displayed by object type. Learn more about the object types below.
Permissions
A user must be a Custom Metadata Admin to create and edit custom fields.
Catalog vs. Project Custom Fields
Catalog Custom Fields refers to additional information stored about your data source's metadata. Catalog custom fields apply to the following object types:
- Data Source
- Schema
- Table
- Column
If the user has Browse Metadata and Data Profiling permissions for a data source, they can view catalog custom fields in the Explorer by clicking on the Metadata & Discussion tab on each metadata object level.
Project Custom Fields apply to Validatar objects:
- Tests
- Jobs
- Labels
To view project custom fields, click on the Metadata & Discussion tab on the test, job, or label's configuration screen.
Why Use Custom Fields?
Custom Fields are a great way to enhance technical data by adding business-user knowledge to data testing. This comprehensive view of your data allows for more holistic testing and analytics to be performed. Use Validatar to get your developers, data testers, business analysts, and governance team on the same page.
Not only can you learn about the information custom fields add while exploring your data, but you can also create tests that call on those fields. For example, let's say you've added a table-level catalog custom field called Time-Sensitive Table. This field identifies tables that push real-time data to end-users which makes having accurate and timely data much more critical. If you have a test you want to run against all time-sensitive tables in your data source, simply create a metadata-driven template test and add a filter where the Time-Sensitive Table field equals Yes. This alleviates the tester from having to identify each table that is time-sensitive and having to create one test for each table. This is a relatively simple example of how custom fields make testing easier, but using any creative combination of catalog and project custom fields can tremendously cut down on test creation time.
Custom Field Configuration
How it Works
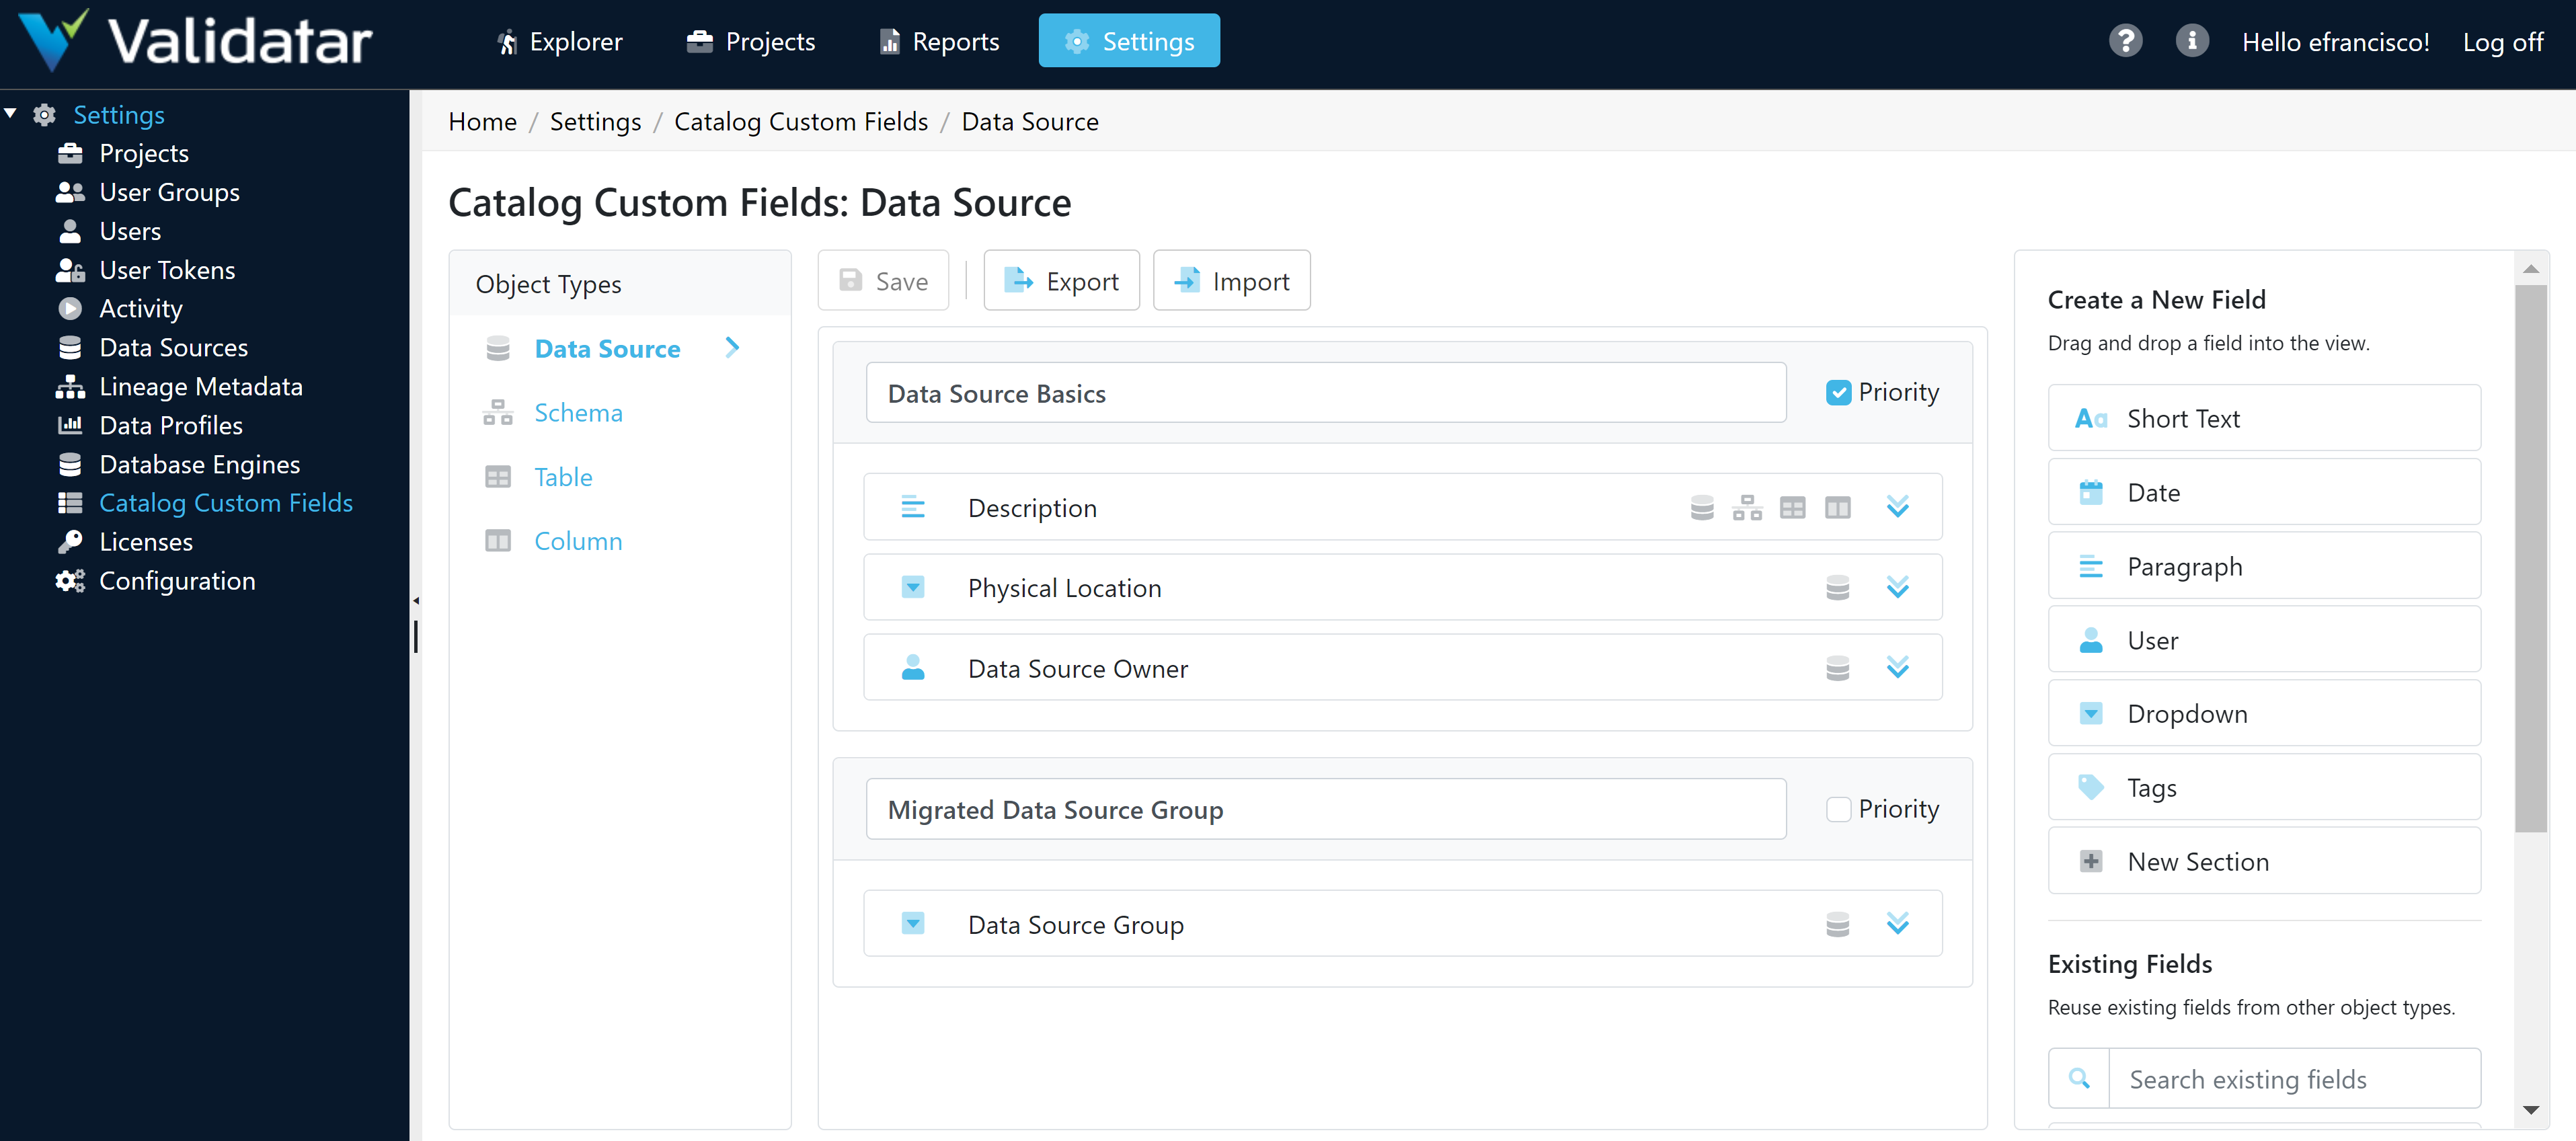
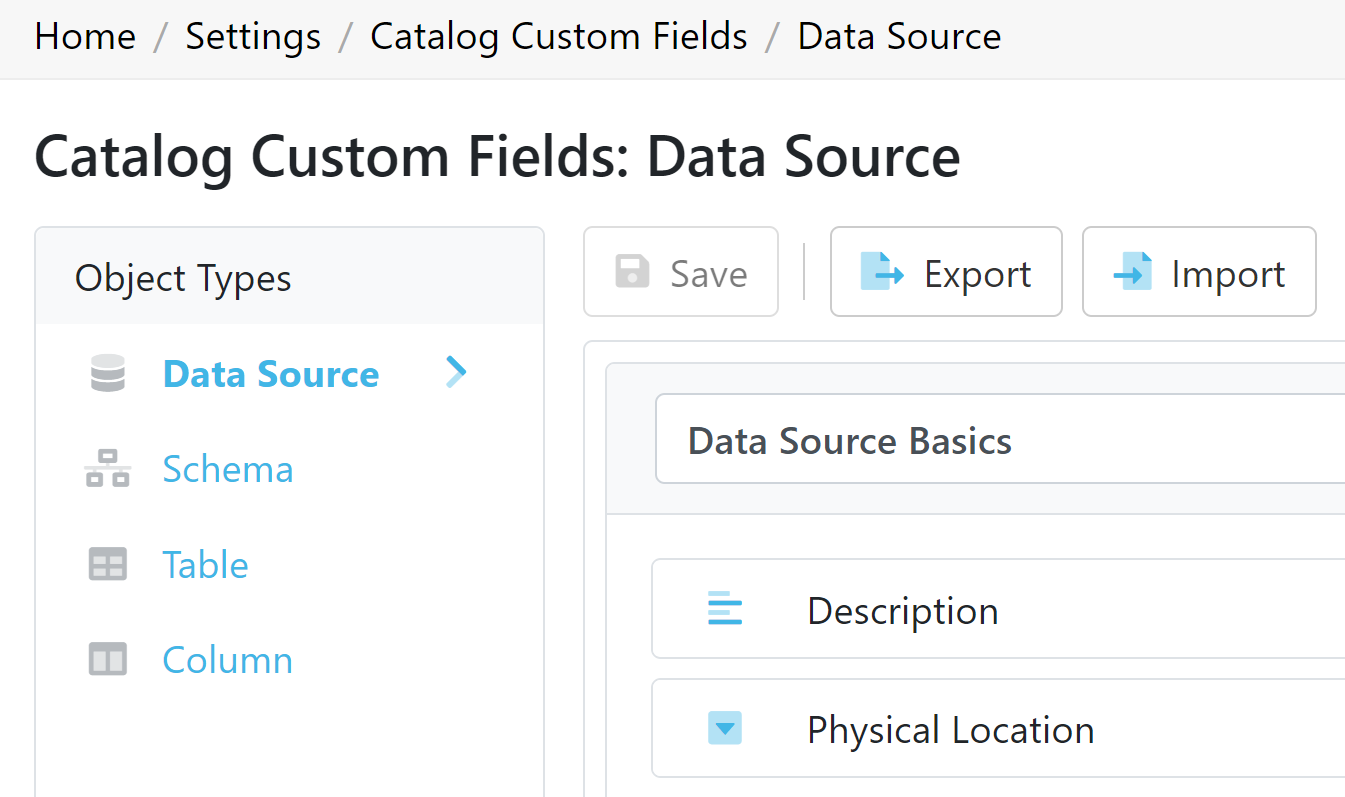
- Navigate to Settings > Catalog Custom Fields.
- Use the Object Types pane to navigate to the object in which the custom field should be applied.
- From the right pane, drag and drop a New Section into the view.
- Review the field types and drag and drop the appropriate New Field into a section.
- Populate the field information. Only the name and reference key are required.
- Click Save before navigating to a new object type.
Learn more about each component of a custom field below.
Object Types
Object types are the metadata objects where custom fields can be applied. These objects are:
- Data Sources
- Schemas
- Tables
- Columns
Custom Fields created in Settings will automatically be applied to every data source in Validatar and its respective metadata objects. The custom field can then be defined on each metadata object according to the organization's business rules.
Sections
A section is a logical grouping of custom fields. Each custom field must be placed in a group, and a group name cannot be duplicated. If there are any duplicates, you must rename the section before saving.
To create a section, drag and drop the New Section field into the view from the Create a New field pane on the right. Some sections will hold more important information than others. To identify those sections, select the Priority checkbox. Priority Sections will appear on the Summary tab of each metadata object in the Explorer.
Fields
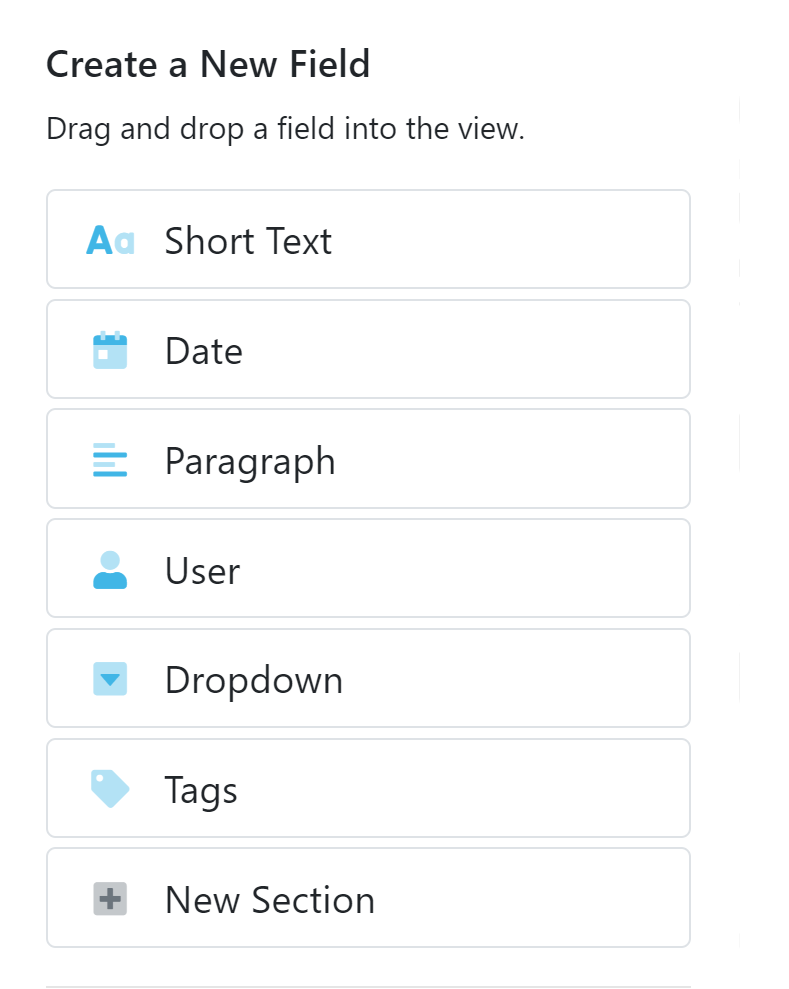
Building a custom field starts with the field type. There a six types of custom fields:
| Field Type | Definition |
|---|---|
| Short Text | Up to 300 characters of text |
| Date | A date in M/D/YYYY format |
| Paragraph | Up to 10,000 characters of text |
| User | One or more Validatar users or user groups |
| Dropdown | A single selection of defined options |
| Tags | One or more key terms assigned to information |
Creating a New Field
Drag and drop the chosen field type into a section from the Create a New Field pane on the right to create a new field. Enter the name and description of the field. The reference key, used to identify custom fields in tests, is automatically populated from the field name, removing special characters and replacing spaces with underscores.
If you create a field that you want to remove, click Delete and the bottom of the field.
Create all of the necessary custom fields on an object type, then Save. You must save before you can move onto another object type.
Dropdown Fields
Dropdowns are the only field type that requires further configuration than name and description. You must provide a list of valid options that can be selected in the dropdown.
On the field card, click Add Options under Dropdown Options and enter each valid value. Drag and drop each option to reorder them. Click the x to remove an option.
View how to create a section and dropdown custom field below.
Using Existing Fields
Once a field is created and saved, it becomes an existing field and can be used on other object types. The name, reference key, and description are brought into the new object type. This keeps the user from having to create duplicate fields.
For example, if you created a custom field called Technical Data Steward on the schema object type, you can reuse that field on the data source, table, and/or column object types.
Identify which object types the custom field is used by the icons next to the name. For example, the Description field is found on the data source, schema, table, and column object types since all four icons are next to the name.

Archived Fields
Newly created fields, meaning they haven't been saved, can be deleted. You cannot delete an object after saving it, but you can archive it. Archived fields can be restored by checking the Show archived fields checkbox in the right pane and dragging and dropping the field back into the view.
Was this article helpful?