Overview
Validatar works very well with Snowflake and was set up to seamlessly integrate the two. In this article, you'll learn what you need to do to get the most out of your Validatar and Snowflake connections.
In this article, we'll take a look at
Defining a Snowflake Data Processing Engine
Creating a Snowflake Data Source
Configuring permissions, metadata ingestion, and data profiling
Creating a Snowflake DQ Monitoring Quick Start Project
Quick help for Snowflake migration projects
Snowflake Data Processing Engine
To begin, it is important to explore the benefits of utilizing Snowflake for your test storage and execution in Validatar. With Validatar powered by Snowflake, you can harness the full potential of Snowflake for all your data quality assurance activities. For a deeper understanding of the technical architecture behind Validatar powered by Snowflake, please refer to Powered by Snowflake.
By default, Validatar employs its built-in engine for executing tests and profiles, storing the corresponding results in the local Validatar database. However, you have the flexibility to manage and modify the engine type and storage location for each data source to use Snowflake instead. Before proceeding, you need to create the data processing engine. If you opt for using Snowflake as the engine, you must utilize Snowflake as the storage location as well.
Create the Data Processing Engine
To create the Data Processing Engine:
Have an admin user navigate to Settings > Data Processing Engines.
Click New Engine.
Enter the engine name.
We recommend combining the expected Engine Type and Storage Location for easy identification during data source setup. For instance, you can use "Built-In + Snowflake Storage" to indicate the utilization of the built-in Validatar engine with results stored in Snowflake.
Choose the Built-In or Snowflake for the Engine Type.
Choose Snowflake as the Storage Location.
Configure the Snowflake Connection
All parameters must be configured for the connection, but Validatar simplifies the process by offering default names. If you choose to modify any of the names, keep in mind that the objects do not need to exist beforehand. During this configuration, the Snowflake setup will automatically create the required Snowflake objects based on your defined specifications.
Connection Parameters | Description |
|---|---|
Account Name | The account name is found in the URL used to log into Snowflake, excluding "https://" and ".snowflakecomputing.com". The account name must include the region. If the account name contains underscores, Validatar will automatically convert those to hyphens instead to avoid potential connectivity issues. |
Database Name | The database that will store the test and profile results. The default is VALIDATAR. |
Schema Name | The schema that will store the test and profile results. The default is RESULTS. |
Role Name | The role used to manage the Validatar-Snowflake storage. The role cannot be one of the following Snowflake system-define roles:
The default is VALIDATAR_ROLE. |
Username | The username for the account that will manage the Validatar-Snowflake storage. The default is VALIDATAR_USER. |
Warehouse Name | The warehouse that will store the test and profile results. The warehouse does not have to exist. The default is VALIDATAR_WAREHOUSE. |
Configure Snowflake
After entering all of the required fields, you'll need to run the Setup Script to create the necessary Snowflake objects (user, role, warehouse, schema, and database) for Validatar.
Click Generate Setup Script and copy the script.
Then in your Snowflake account, paste the script into an open worksheet.
Run the script.
In Validatar, click Generate Public/Private Keys which Validatar will use for authenticating with Snowflake.
Click View Public Key/Script and copy the script.
In the open Snowflake worksheet, paste the script.
Run the script.
Validate the Snowflake Connection
Lastly, verify that Validatar has the appropriate access to Snowflake by clicking Validate Settings. This will:
Verify that the Snowflake account exists
Verify the login
Verify the database, role, and warehouse
Create schema, table, and stages
Verify access to the temporary file folder
Verify that a sample file can be uploaded/imported to Snowflake
Be sure to click Save!
Maintenance
Public/Private Key Rotation
To rotate the key Validatar uses to authenticate to Snowflake, click Regenerate Public/Private Keys, then click View Public Key/Script, copy the script, and run the script in a Snowflake worksheet to link the new public key to the user account in Snowflake. Once the script is run, click Validate Settings to verify that Validatar can still connect to Snowflake.
Validatar Cloud requirements when migrating to a new Snowflake region or new Snowflake account
If your Validatar instance is hosted in Validatar Cloud and you switch the Snowflake account name or migrate your Snowflake account to a new region, you will need to apply the following updates to ensure that Validatar Cloud doesn’t lose connectivity to Snowflake:
Enter the new value for the Account Name field, including the region.
Click the Generate Setup Script button and retrieve the new api_aws_role_arn value.
Run the following script in Snowflake using the accountadmin role:
alter api integration VALIDATAR_AWS set api_aws_role_arn = '<value_from_previous_step>';Click Validate Settings to verify that Validatar can still connect to Snowflake.
Set the Default Processing Engine & Profile Storage
Once you have created the required combinations of Data Processing Engines and Storage Locations, you have the option to set any of them as the default instance-wide. This ensures that the chosen option will be automatically applied when creating a new data source. However, it is important to note that you can modify this setting at any time if you prefer not to use the default. Additionally, you can specify the default storage location for both historical and new profile results.
Default for New Data Sources
To update the default Processing Engine:
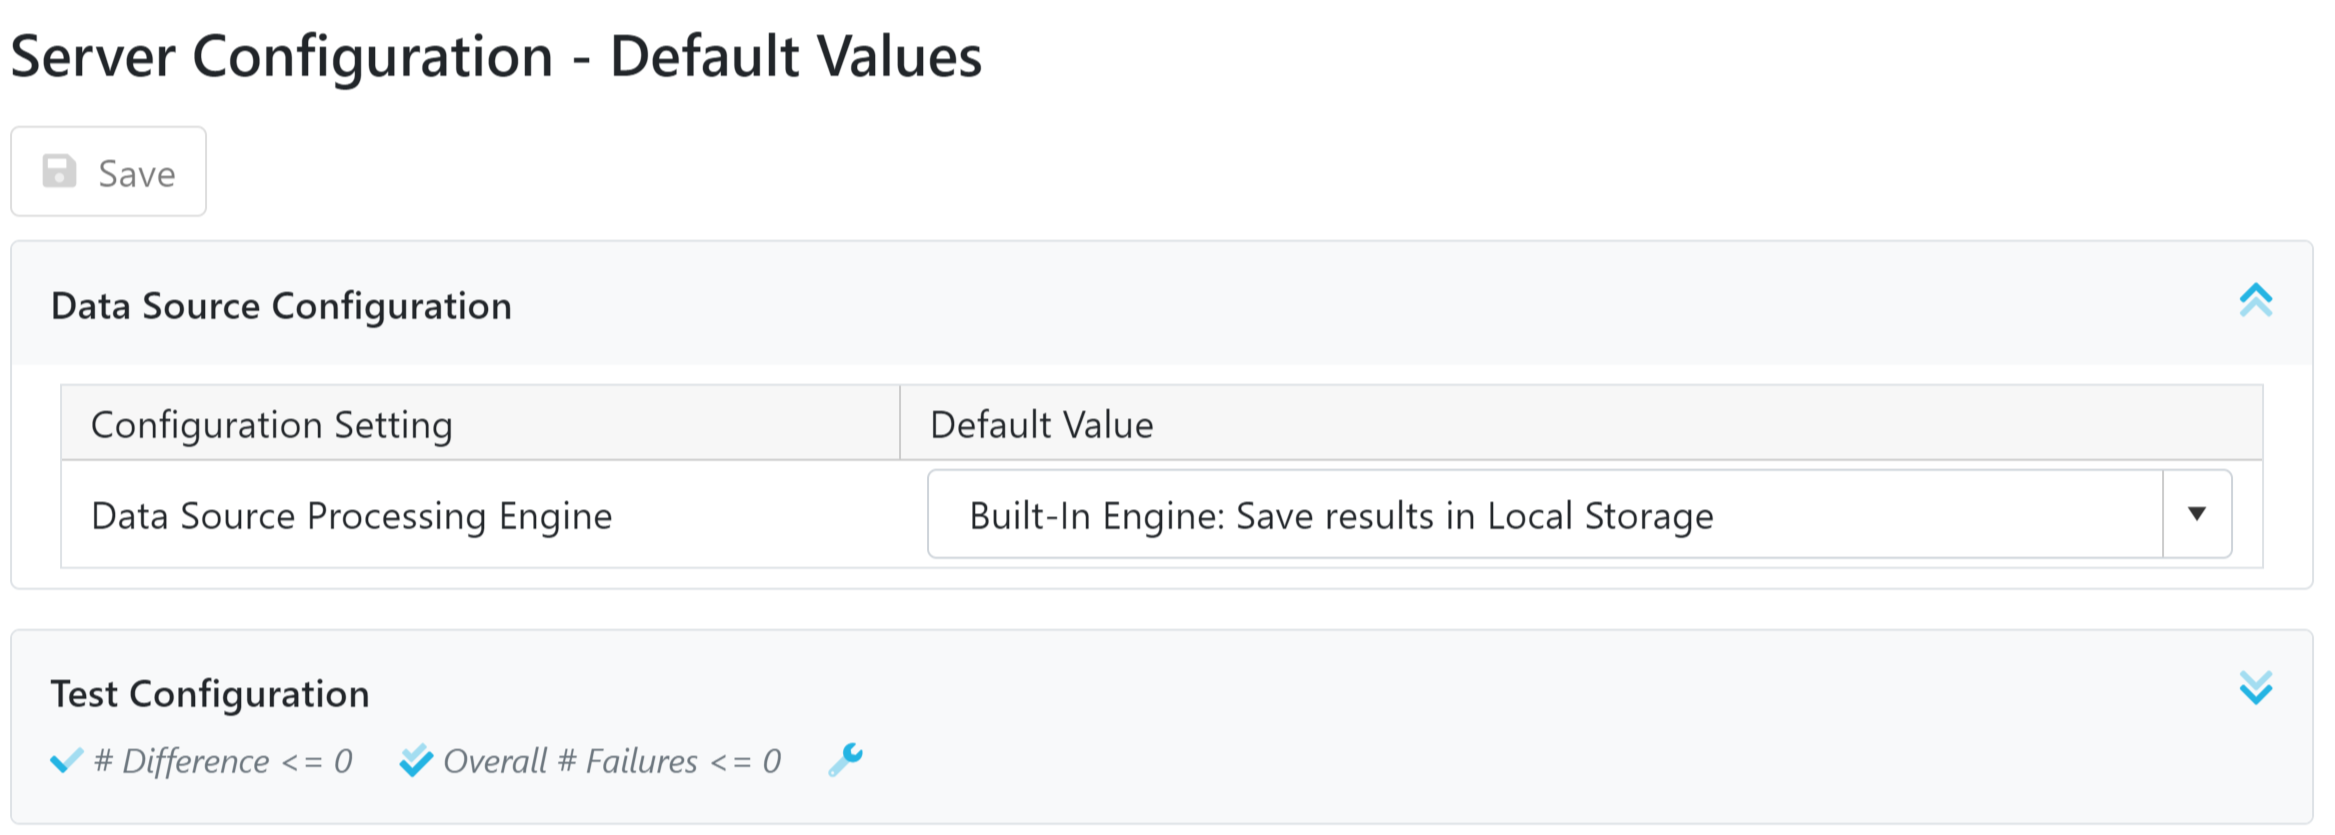
Have an admin navigate to Settings > Configuration > Default Values.
Expand the Data Source Configuration panel.
Select the default data source processing engine.
Click Save.
Default for Profile Results
To update the Result Storage location for profile results:
Have an admin navigate to Settings > Configuration > Result Storage.
Select the storage location for historical profile results.
Select the storage location for the latest profile results.
Enter the temporary file folder path. This will hold temporary files before they're imported into Snowflake.
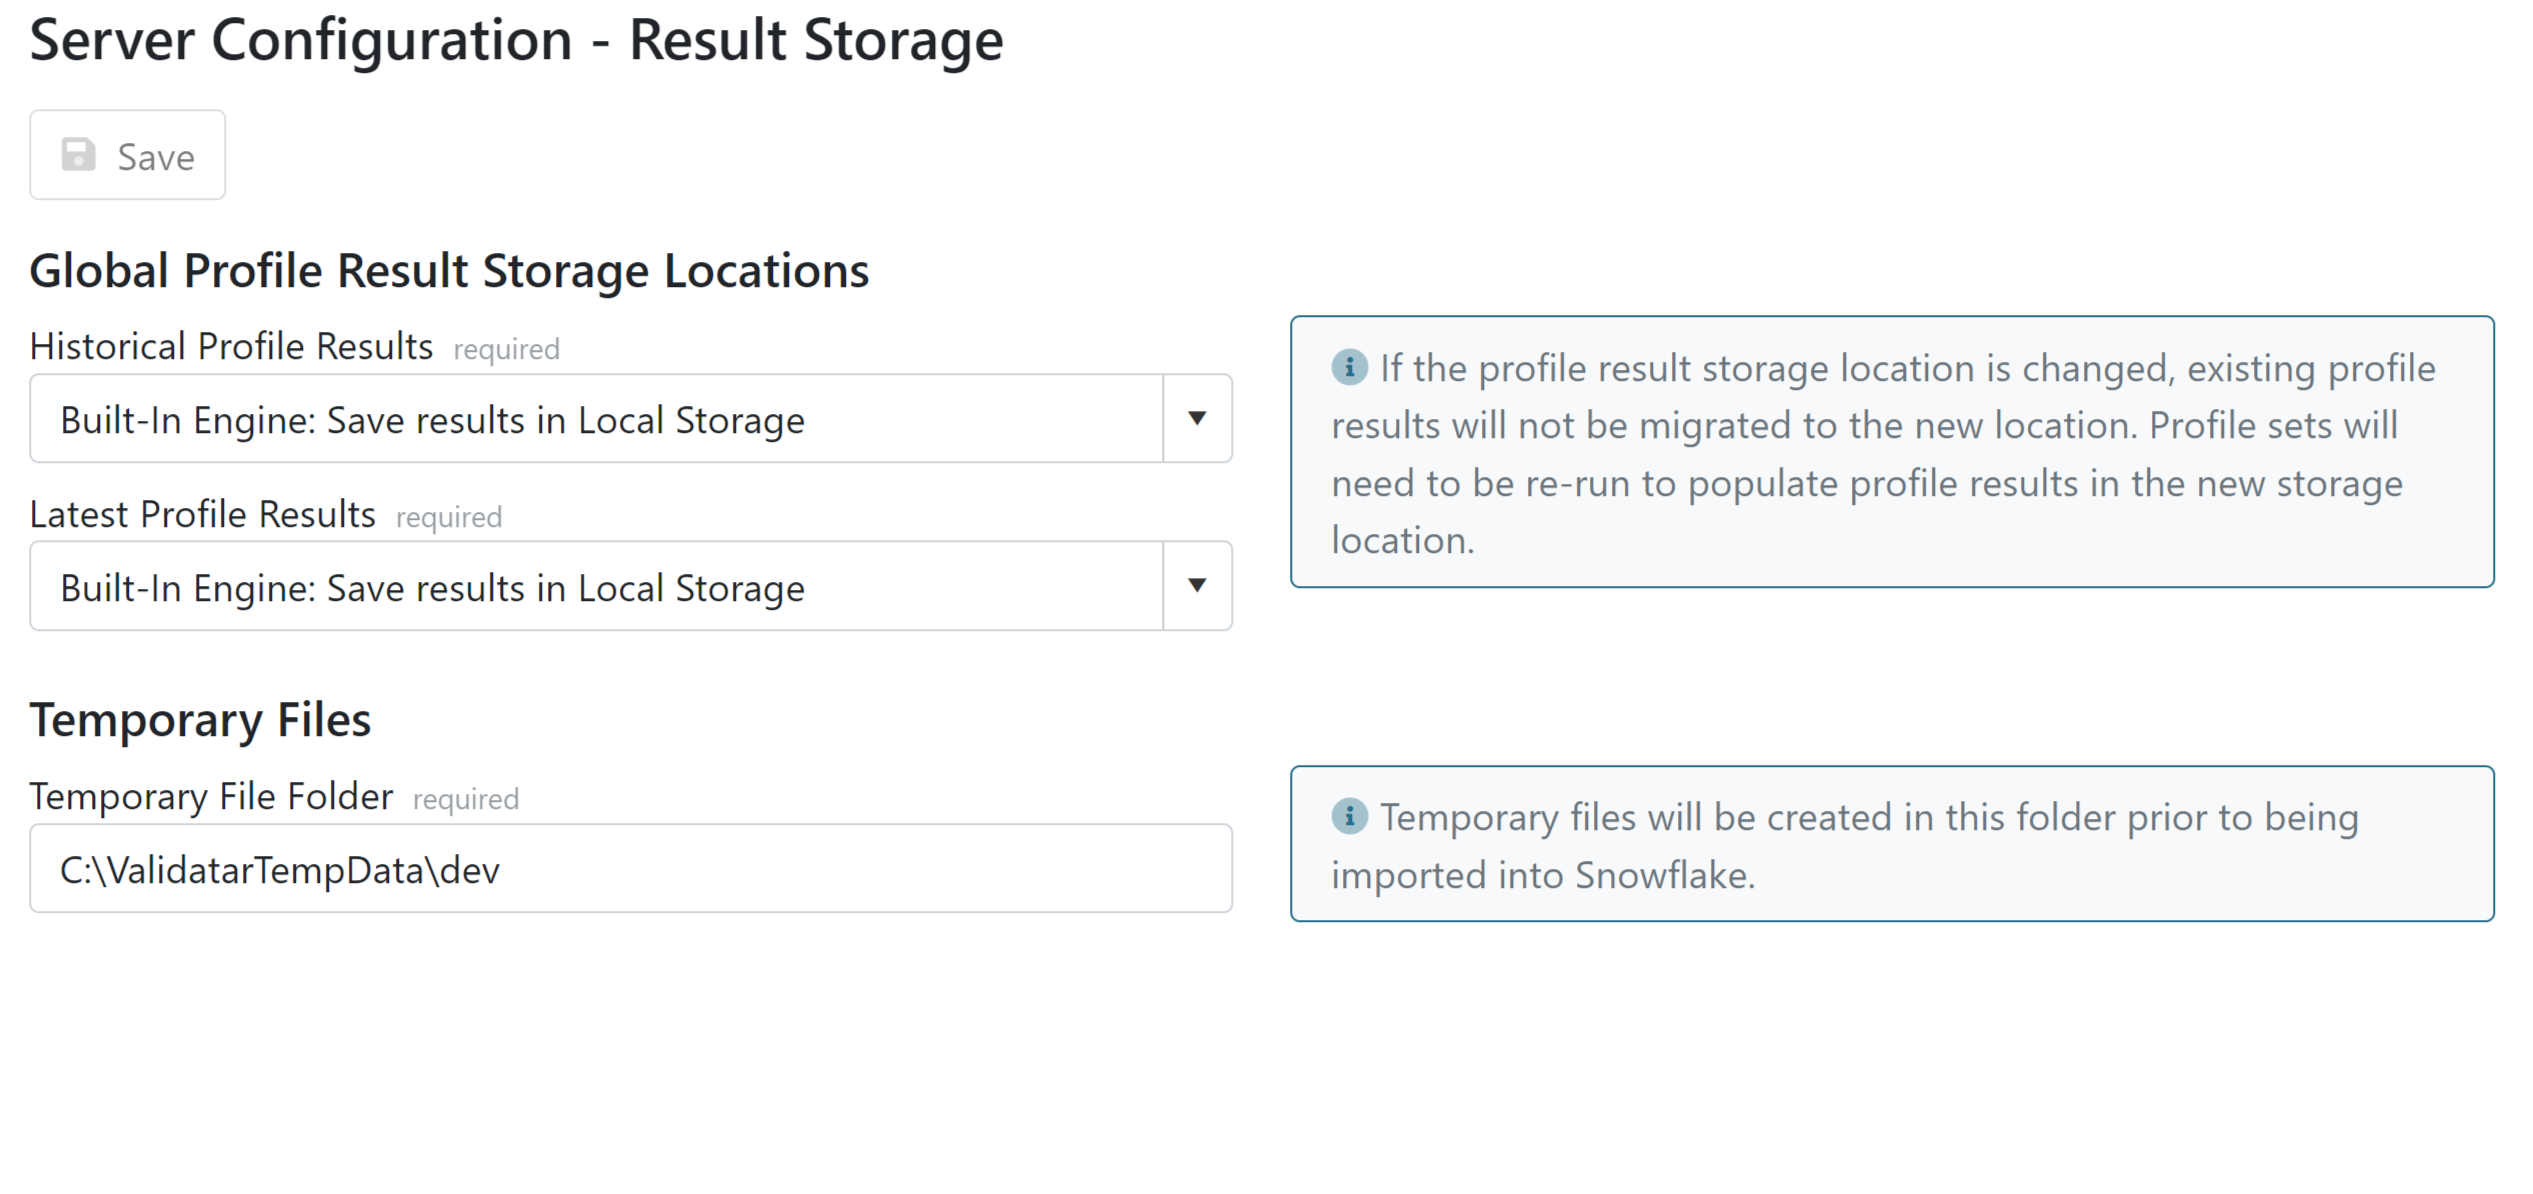
Please note that changing the storage location for profile results will not automatically migrate existing profile results to the new location. In order to populate profile results in the new storage location, you will need to re-run the profile sets.
Creating a Snowflake Data Source
Once you have Validatar powered by Snowflake set up and ready to use, the next step is to create your Snowflake Data Source. This will establish the connection to the Snowflake data that you want to test. For detailed instructions on how to create a data source, please refer to Creating a Data Source.
Note that the Snowflake role entered in the Role Name of the selected Data Processing Engine needs to have USAGE privilege to both the Snowflake database and schema being tested, as well as SELECT privilege to existing/future tables. The required Snowflake permissions can be granted using the following SQL:
grant usage on database <db_name> to role <role_name>;
grant usage on schema <db_name>.<schema_name> to role <role_name>;

grant select on future tables in schema <db_name>.<schema_name> to role <role_name>;
grant select on all tables in schema <db_name>.<schema_name> to role <role_name>;
Metadata Ingestion and Permissions
After creating the data source, the next step is to ingest the metadata into Validatar. This step is crucial as it enables you to monitor any changes to the metadata and automate test creation, thus accelerating your testing capabilities. For detailed instructions on this process, please refer to the 'Ingesting Metadata'.
Setting a Refresh Schedule is strongly recommended to ensure Validatar always has up-to-date and accurate metadata. The frequency of metadata changes and the appropriate timing for updating metadata may vary based on your business processes. Therefore, it is important to set the refresh schedule accordingly. By doing so, Validatar will automatically retrieve the latest metadata at the specified intervals.
Lastly, you'll want to assign the appropriate data source permissions for the appropriate Validatar user or user groups.
Data Profiling
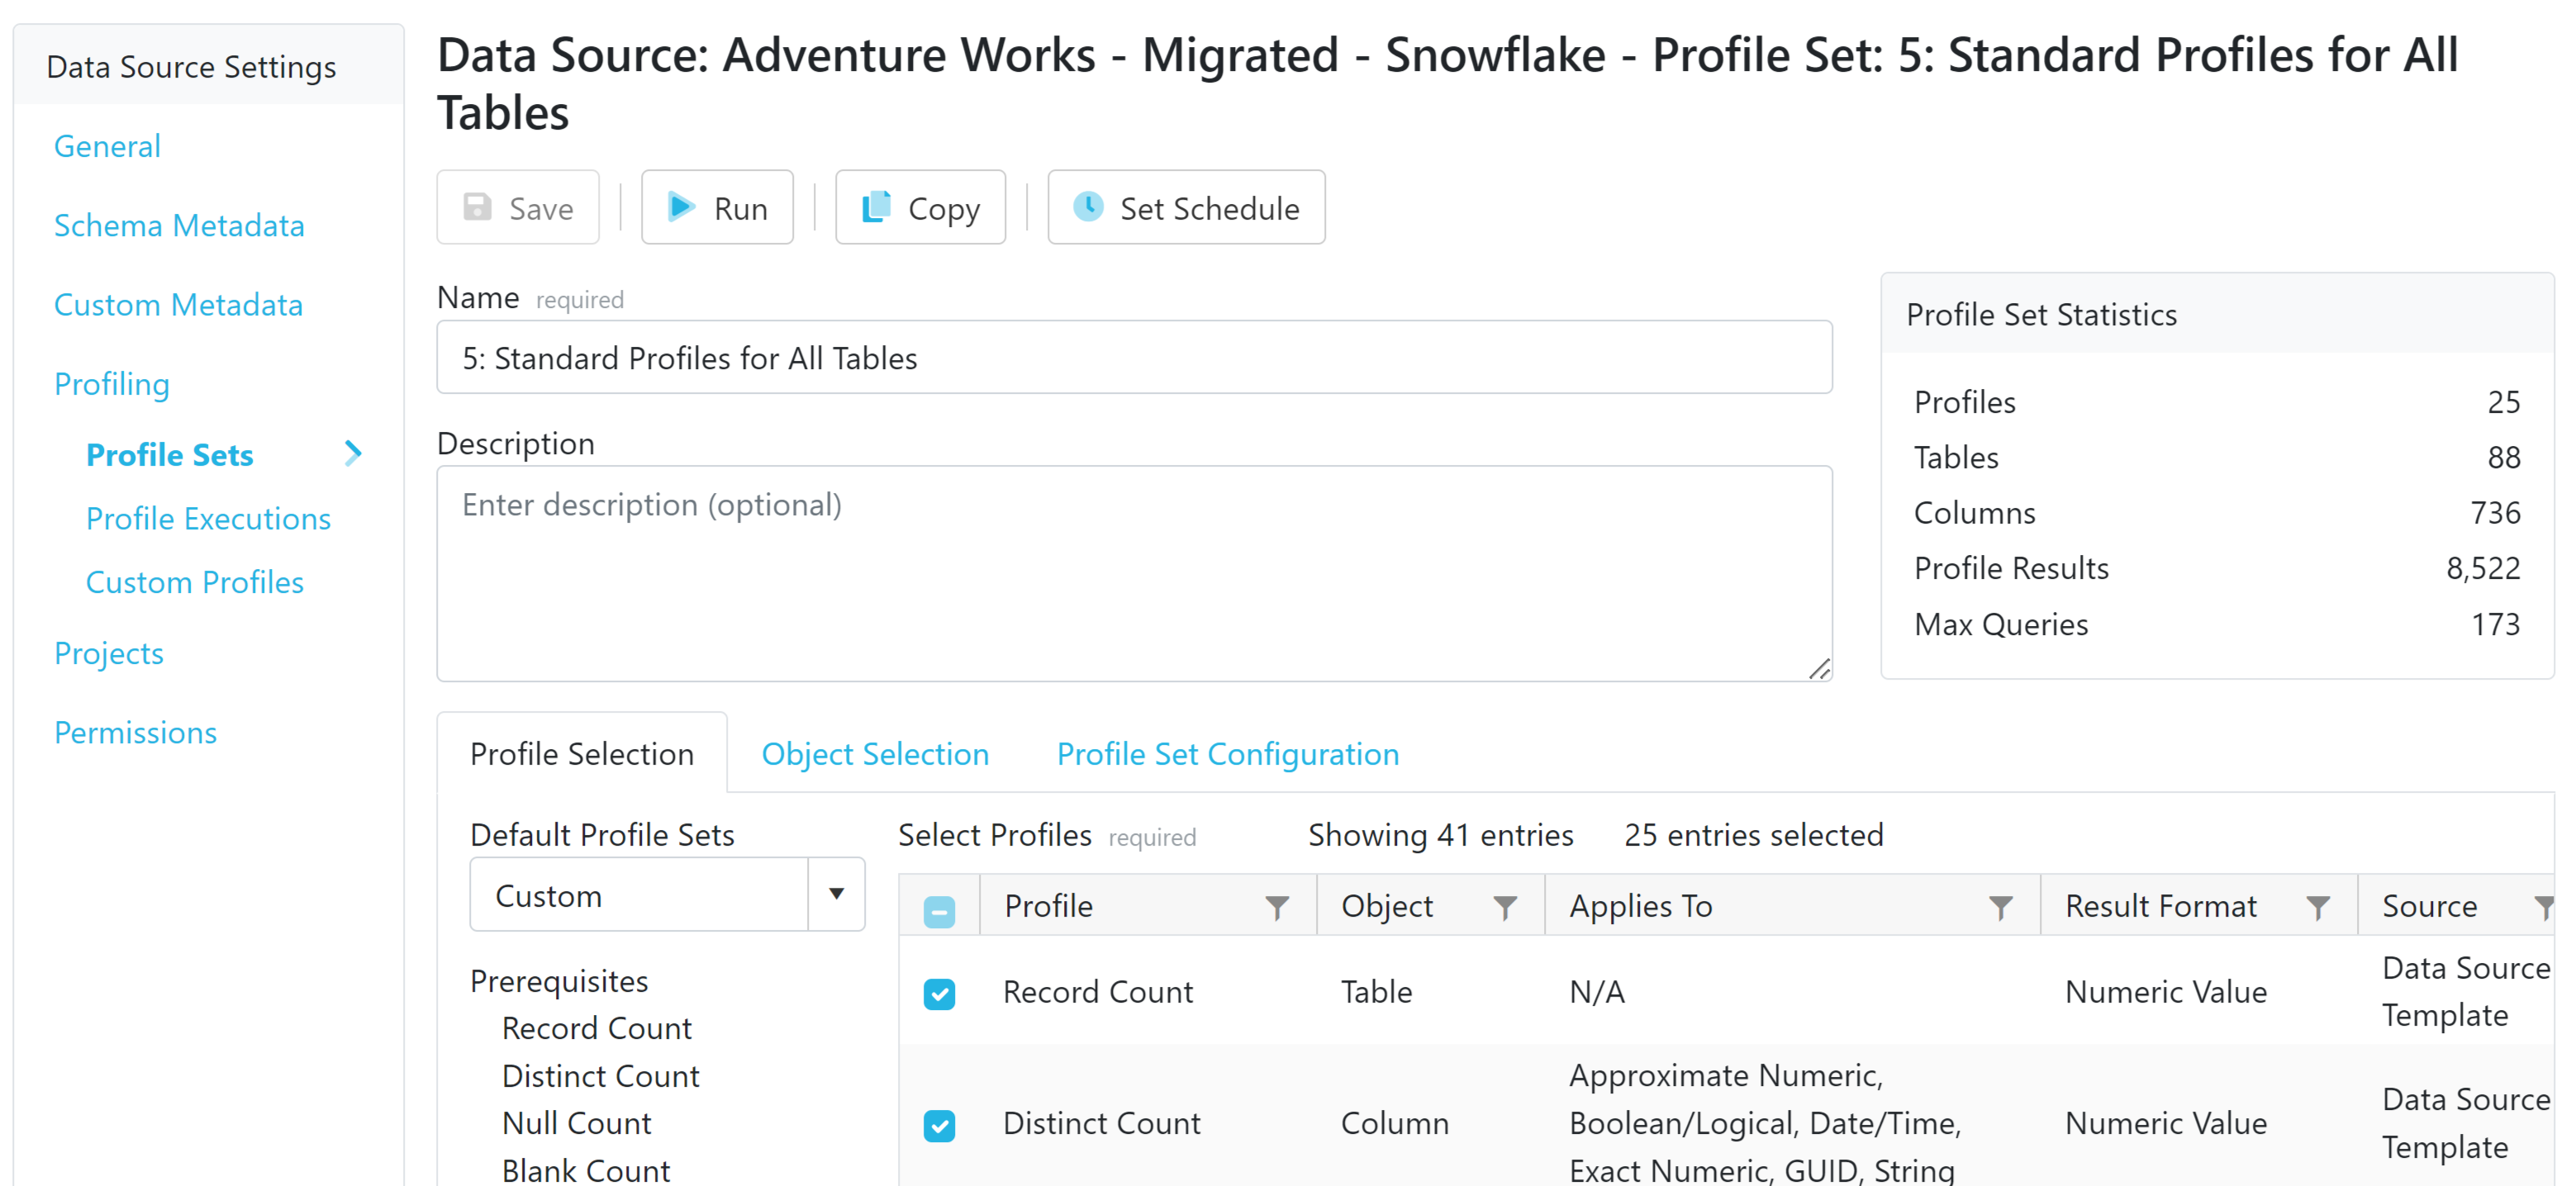
Data profiling is an essential aspect of Validatar's capabilities. Explore the pre-built standard data profiles available in Validatar and take advantage of creating your own custom profiles to analyze your Snowflake data. You'll run a collection of data profiles in what we call a profile set. This feature enables you to effortlessly monitor changes in data profiles without the need to manually write individual tests. By utilizing data profiling, you can gain valuable insights into your data and ensure its quality and integrity. For detailed instructions on leveraging data profiling in Validatar, please refer to the 'Data Profiling' section.
Data Quality Monitoring Quickstart Project
Oftentimes, the most challenging part of data testing is knowing where to start. The DQM project aims to give you standard monitoring, formatting, and easy-to-use tests straight out of the box and it was specifically built for the Snowflake Data Warehouse. It has tests and jobs configured to run a broad array of generalized Data Quality processes on the data that exists in the Snowflake Data Warehouse.
You'll find three categories of tests in the DQM project:
Comprehensive Monitoring will detect any changes in data profiles such as record counts, duplicate values, null values, and more.
You can set Expectations for data values and be notified if that value falls out of range or hasn't been updated.
You can verify that standard fields like zip codes, email addresses, and phone numbers have the expected Field Formats determined by the business.
Learn more about setting up the DQ Monitoring Project here.
Snowflake Migration Projects
The Validatar Marketplace is an invaluable resource for finding tools and resources to expedite your testing requirements, particularly in the context of Snowflake Migrations. Here are some recommended items that can assist you in getting started:
Cloud Migration Test Pack - SQL Server to Snowflake
Standard Migration Test Pack
Snowflake Account Monitoring - Test Pack
Snowflake Data Source Template
Additionally, we recommend watching the informative video below, which provides valuable insights and tips on getting started with Snowflake Migration testing: