Learning Goals
- How do I test the same concept in multiple tables?
- How do I check for referential integrity?
- How do I configure Missing Key Settings?
- How do I import a test from the Marketplace?
Step 1 - Import "Exercise 9: Modified By in User ID List" from Marketplace
- Open the Marketplace in the top banner
- Search for Exercise 9
- Click on the "Exercise 9: Modified By in User ID List" Card
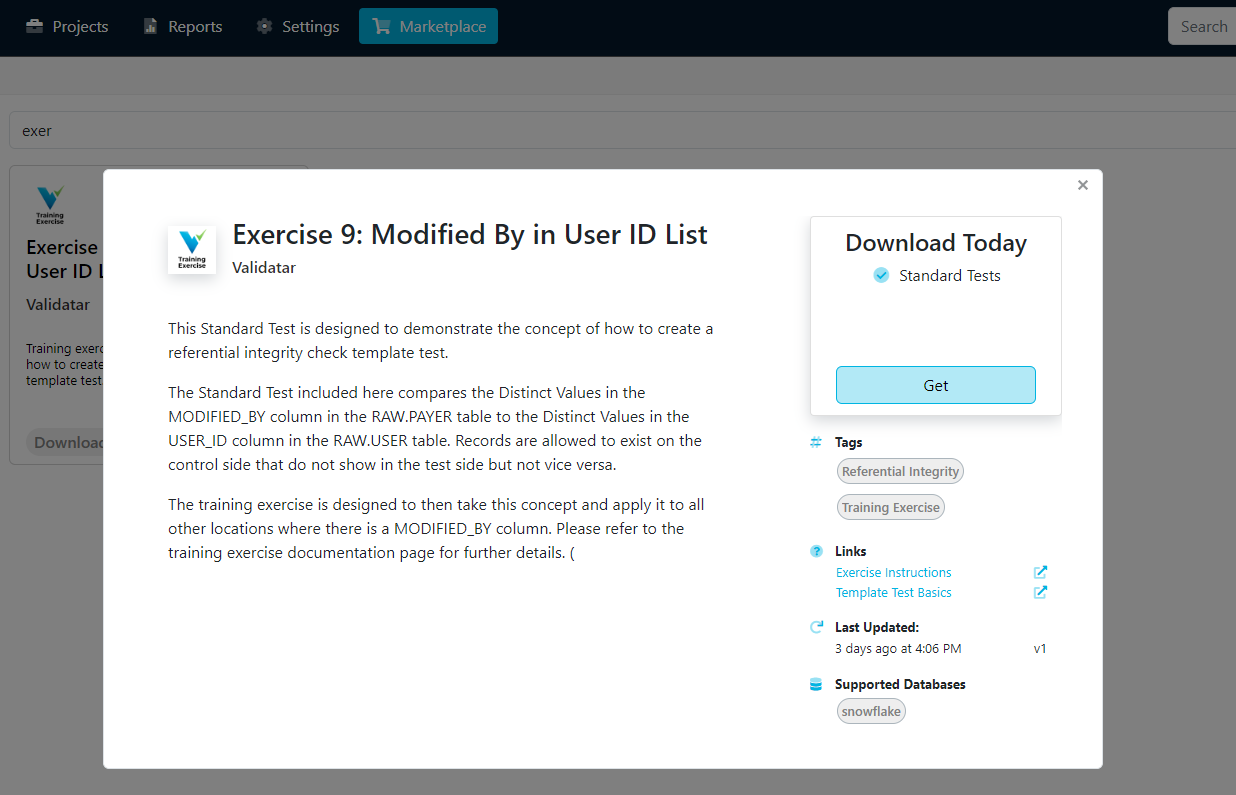
- Click on the "Get" button
- Select "Import Directly"
- Choose your project
- Make sure your Data Source is Mapped correctly
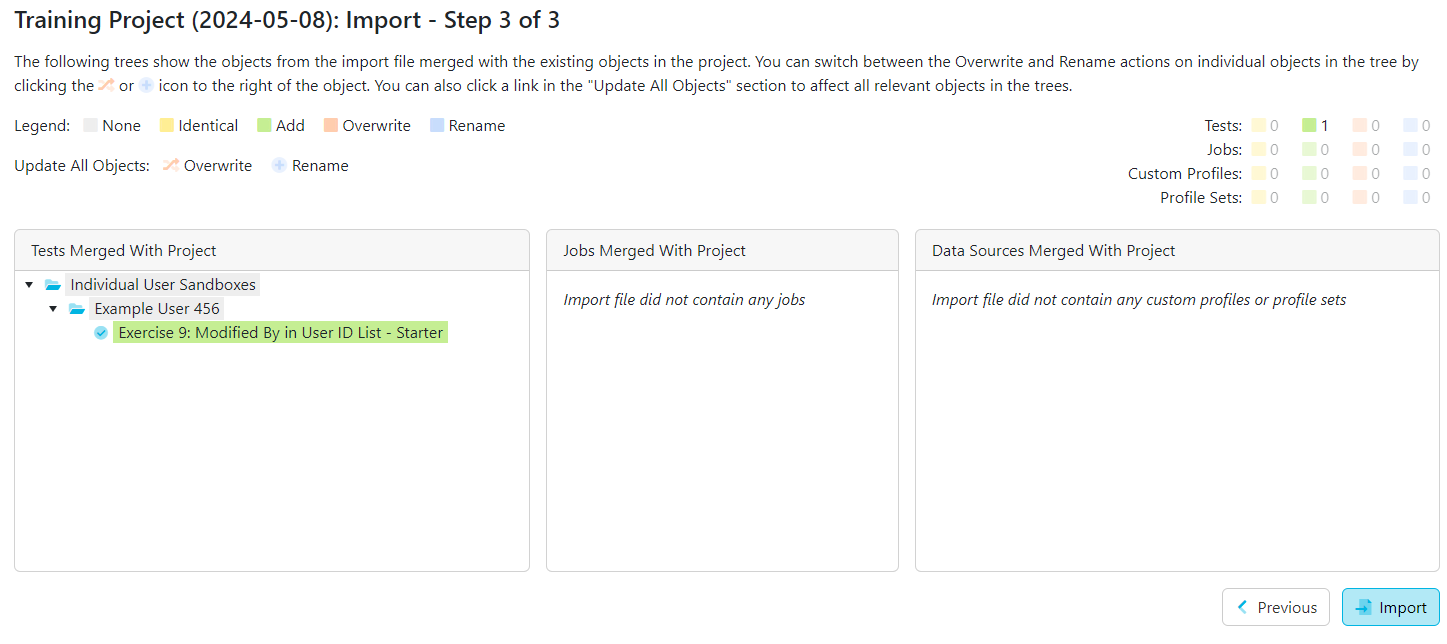
- Select the folder you would like to import the Test into

- Click "Review Changes"
- Confirm that you are adding the new test and then hit Import
Step 2 - Review Imported Test Definition
- Open the test "Exercise 9: Modified By in User ID List - Starter" and review it's configuration
- Note that it is comparing the distinct list of MODIFIED_BY values in the RAW.PAYER table to the distinct list of USER_ID values in the RAW.USER table.
Missing Key Settings
With a referential integrity test like this, it is not required for every USER_ID to be in the MODIFIED_BY values. Thus we need to allow for missing keys on the Test Data Set (MODIFIED_BY) side to Pass.

Step 3 - Convert to Template Test
- Scroll to the top of the test and click "Convert to Template Test"
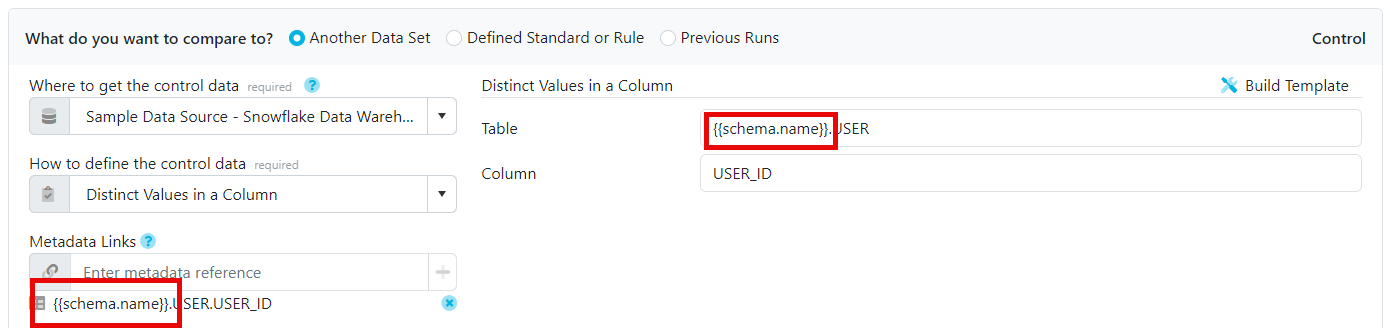
- Note how the Test has replaced all references to RAW with {{schema.name}}, PAYER with {{table.name}} and MODIFIED_BY with {{column.name}}.
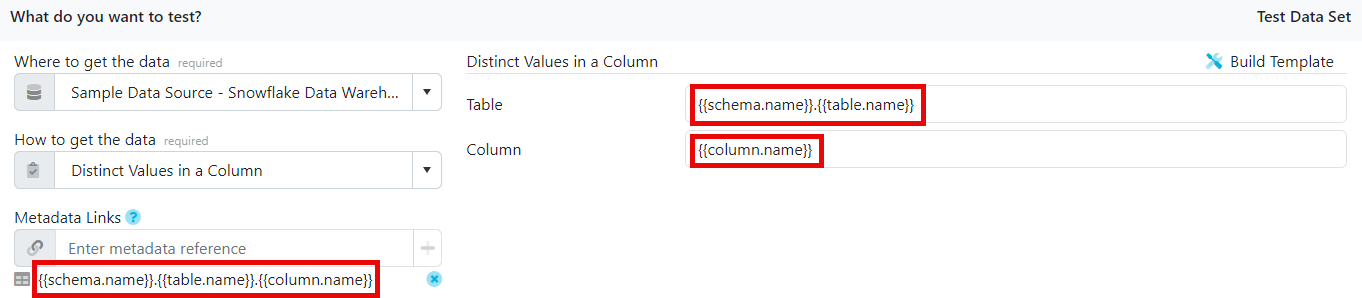
- This has also happened on the Control side of the test where we do not want changes to be made.
- Replace {{schema.name}} with RAW on this side so we are not updating the schema for the Control
Step 4 - Configure Metadata Selection
- Switch to the Metadata Selection Tab
- Change to the "Use Filters" option
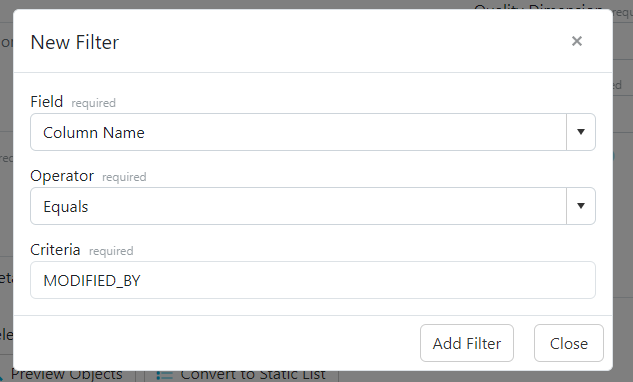
- Add a Filter on the Column Name Field Equals to "MODIFIED_BY"
- Preview the objects and make sure that all the relevant MODIFIED_BY columns are included in the list.

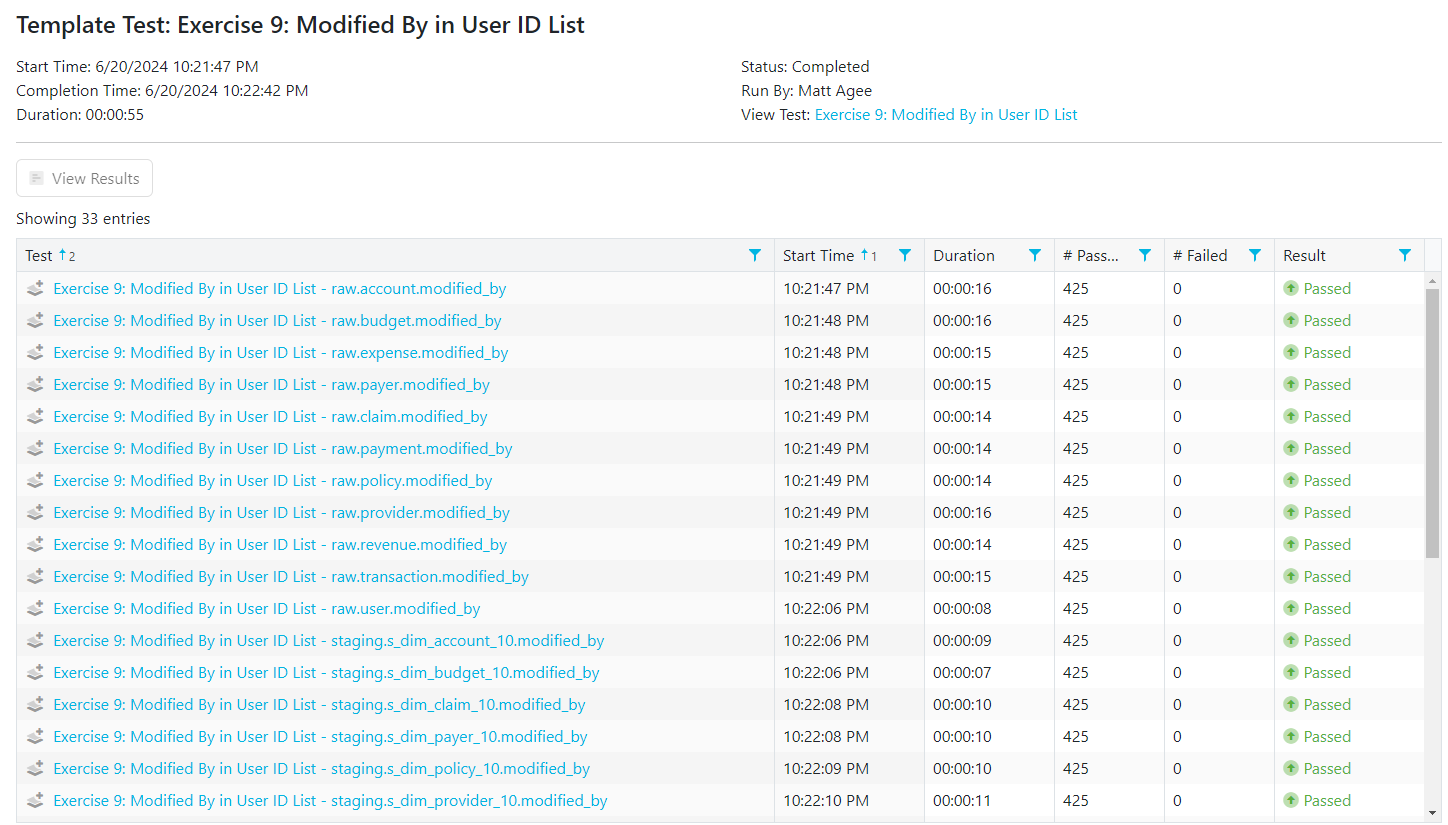
Step 5 - Save -> Materialize -> Run
- Rename your test to "Exercise 9: Modified By in User ID List"
- Save the test
- Materialize Child Tests
- Run Child Tests