Overview
This article explains using the Import Custom Metadata feature of Validatar. It allows you to import custom metadata values for each data source either through a file or SQL ingestion to enhance your data testing and profiling capabilities.

Understanding Custom Metadata
Custom Metadata refers to additional or user-defined data that describes your dataset. It provides an informational context to the data. In Validatar, custom metadata can be attached to each object in your data source, thus enriching your data and providing deeper insights. While importing schema metadata offers technical insights into your dataset, custom metadata enables the utilization of business and organizational knowledge to enhance your testing capabilities.
Importing custom metadata into Validatar brings several benefits:
Source of Documentation: Custom metadata fields provide an opportunity to include detailed descriptions or notes about specific data elements, tables, or schema components. This serves as a rich source of documentation, offering insights into the context, purpose, or any oddities related to the data.
Increased Collaboration: Custom metadata fields contribute to a shared understanding among team members by allowing them to annotate and share insights about the data. This shared knowledge fosters collaboration and ensures that team members are on the same page regarding the significance and usage of different data elements. Custom metadata fields also facilitate communication between technical and non-technical team members, providing valuable cross-functional communication.
Customized Testing: By using custom metadata fields testing teams can optimize their efforts by focusing on critical areas, potential edge cases, or specific scenarios that target business-specific rules and requirements.
Methods of Importing Custom Metadata
Prerequisite
Before importing values for a data source, ensure that the Custom Metadata fields have been previously created and configured in the Settings.
There are two ways to import custom metadata into Validatar: via File or via SQL Ingestion.
Import Using File
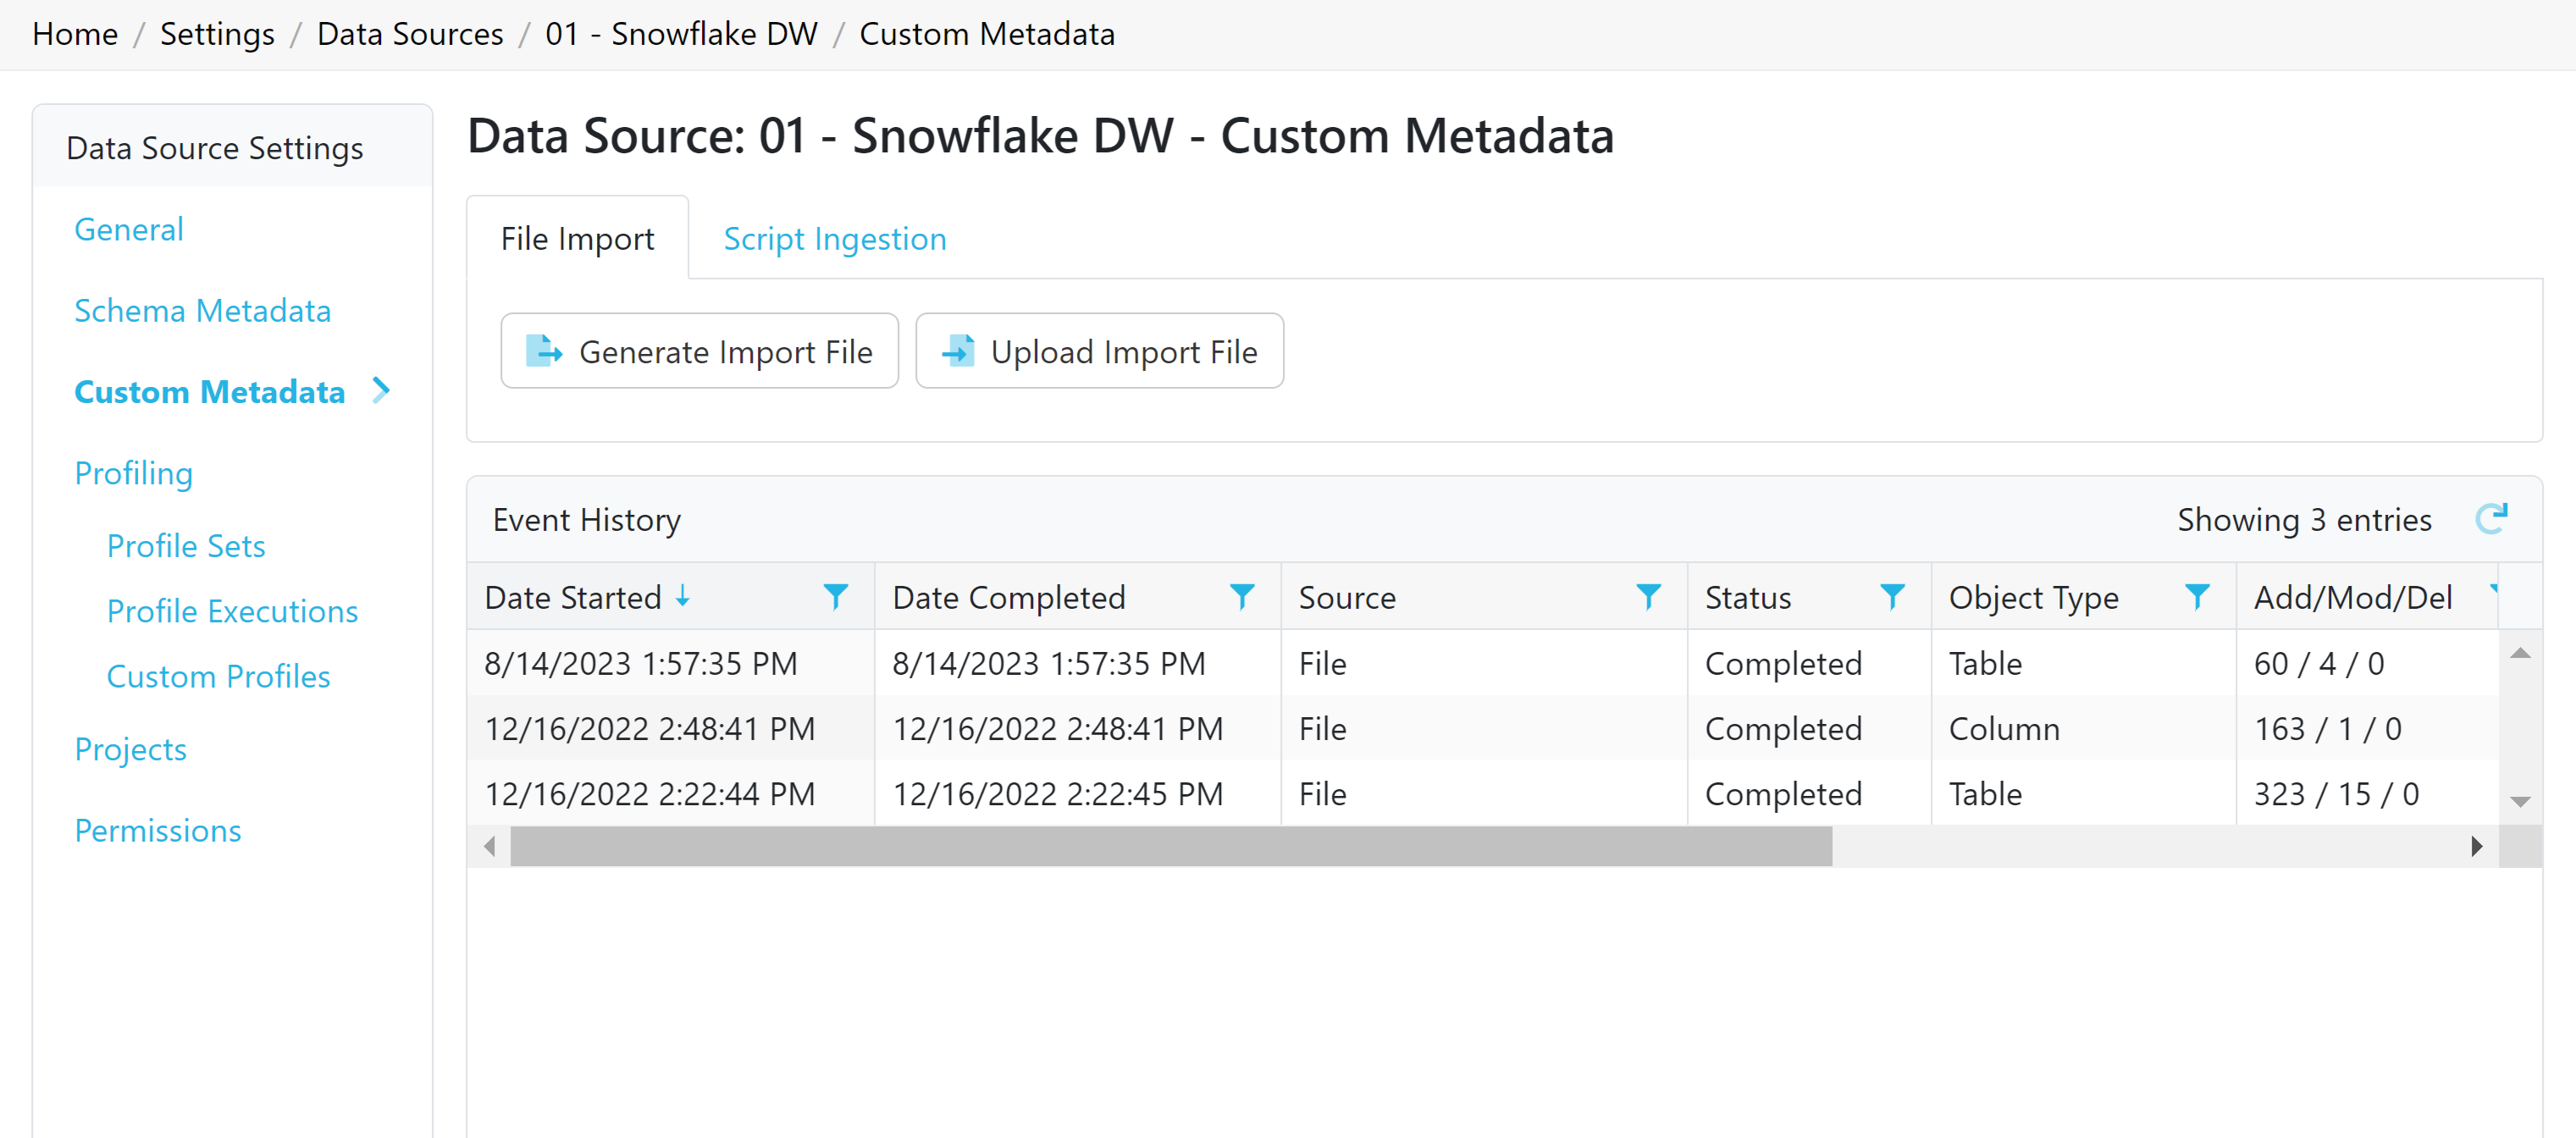
Generate an import file using the 'Generate Import File' feature. This file will serve as a template with appropriate custom field columns. This method works best for
Well-structured Metadata Documents
Locate the Data Source
Go to Settings > Data Sources > Select your Data Source.
Within Data Source Settings, choose Custom Metadata.
Generate Import File
Select 'Generate Import File' and select the object type to generate the import template. Each template has the appropriate custom field columns required to add custom metadata.
Fill in Custom Metadata
Populate the import file with your custom metadata values. Save the file
Upload File
Upload the import file to Validatar.
Importing Using SQL
You can configure SQL that maps the custom metadata values to their appropriate objects. This method works best for
Near Real-time Metadata Refresh
Direct Connection to Repository
Security and Access Control
Locate the Data Source
Go to Settings > Data Sources > Select your Data Source.
Within Data Source Settings, choose Custom Metadata.
Choose the ‘SQL Ingestion’ tab.
Configure the Connection
The default metadata connection is the same as the one used for pulling data for test results. Keep this default or add a secondary connection by unchecking 'Same as Primary' and clicking 'Add'. The process mirrors creating a connection for a new data source.
Configuration
Configure SQL to map the custom metadata fields to their appropriate objects.
Preview and finalize the configuration for each object by reviewing the scripts. Click 'Update Ingestion SQL' to save.
Execute Ingestion
After configuring the SQL, click 'Refresh Now' to import the custom metadata values.
Automating Ingestion
Select 'Set Refresh Schedule' to define the frequency and timing of your recurring ingestion.
Save your settings to start the automated ingestion process. Ensure the schedule is enabled before saving.
The Event History table will show each custom metadata import execution. To view the imported custom field values, go to Explorer > Select the data source > Go to the object > Open the Metadata & Discussions tab.